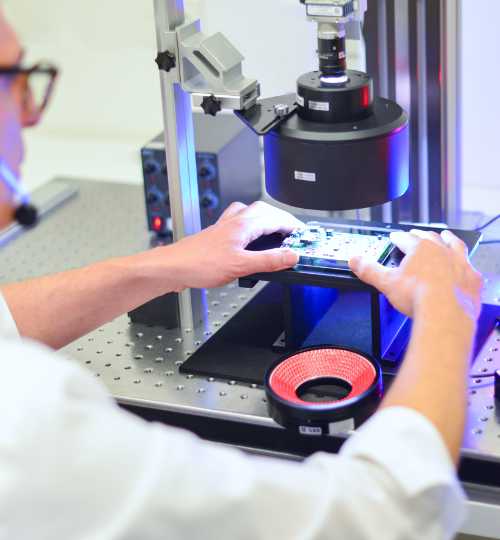


Production errors occur. Objects need to be detected. A component needs to be accurately measured. Production steps are monitored and readjusted. Fonts and codes are to be read. Where do anomalies occur?
The implementation of such a task can be very complex. What does the quality inspector really mean when he talks about a "component measurement"? What are the technical limits? Under what conditions can this be done?
Again, the "Specifications for the Planning and Implementation of Vision Systems (VDI / VDA / VDMA 2632-2)" provide a lot of information on what needs to be considered.

Feature detection (presence/absence)
Dimensional testing / "pseudo-measurements
Defect detection
Contour and deformation check
Object Search & Pick & Place
Optical Character Recognition / Verification (OCR / OCV)
1D and 2D code reading and grading
Colour identification
Print inspection
Deep Learning classification, Anomaly detection
"Real" (metric and calibrated) measurements
Measuring length, width, height
Angle, rotation, parallelism
Surface roughness (Ra, Rz values etc)
Volume measurements
1D / 2D code verification (calibrated, 15415. ISO TR 29158, AIM DPM)
Radiometric, standardised light measurements
Colour measurements with standardised colour spaces
Is all this really necessary? What is your task? What tolerances are desired or required?
Is it enough to say that the component is bent by approx. 2 degrees and is too long or too short by this value, deviating from the ideal, or does this have to be strictly metric?
Address these topics! Offline laboratory procedures under standard conditions are a different world, inline camera tests are often limited and difficult to replicate.

Based on the end customer's specifications, the service provider can develop a solution for the desired application.
Close consultation between the customer and the client helps here. For example, end users may not be able to provide all the information required for a specification. The end customer's preferences will also help the integrator to find a suitable solution for the customer.
Full description of the inspection task
Developed solution for this task
Definition of the necessary hardware setup
Used inspection algorithms
Mechanical setup for integration
Interfaces and communication
Calibration & capability verification methods
Information about the user interface
Details on installation, commissioning & maintenance
Time schedule for the project
Vision-Doctor.com is a private, independent, non-commercial homepage project and not a technology provider or system integrator. Suitable technologies and further professional support can be obtained from the companies & partners listed below.
If necessary, I will be happy to provide a quick recommendation, contacts and brief information.
