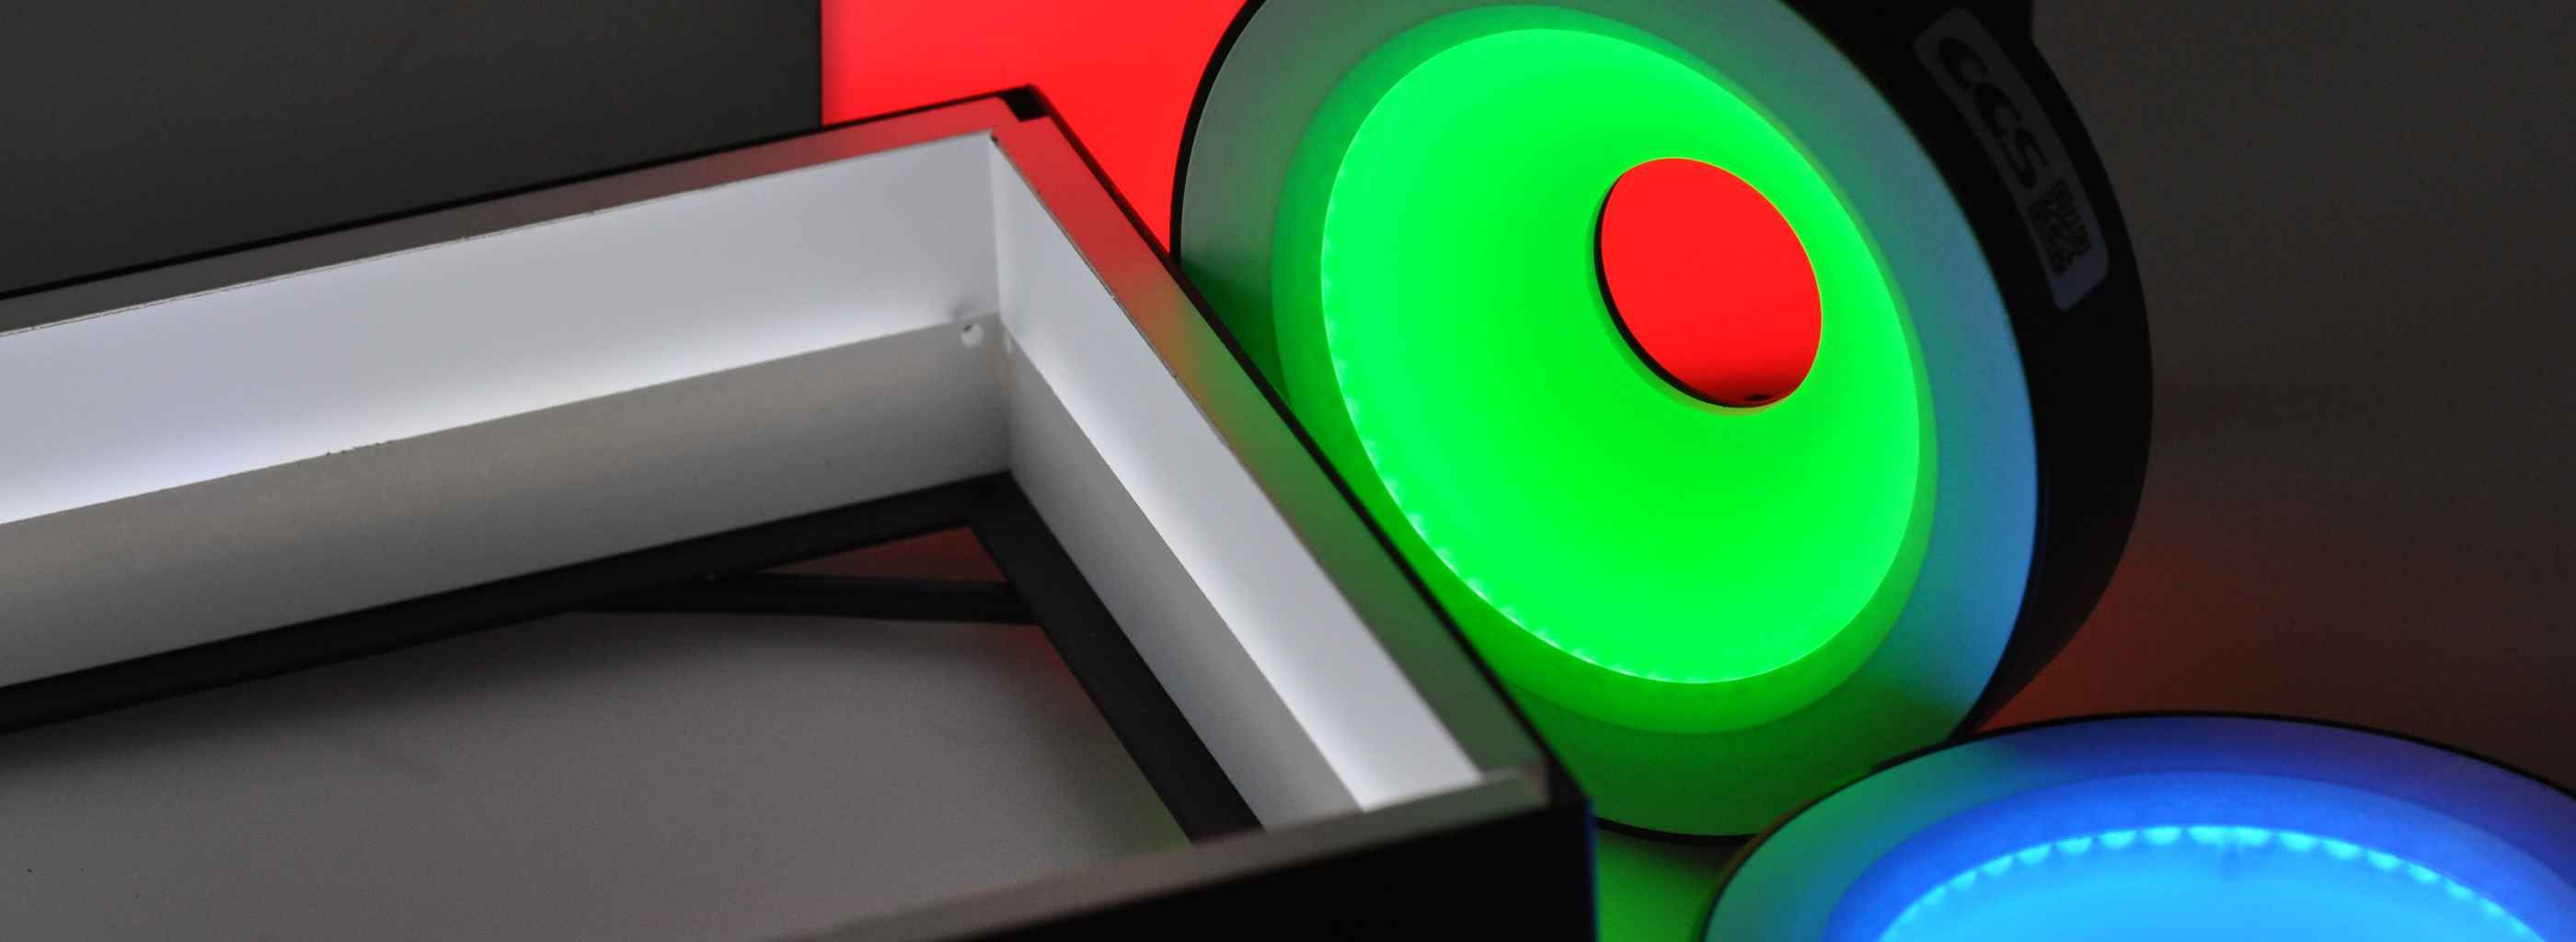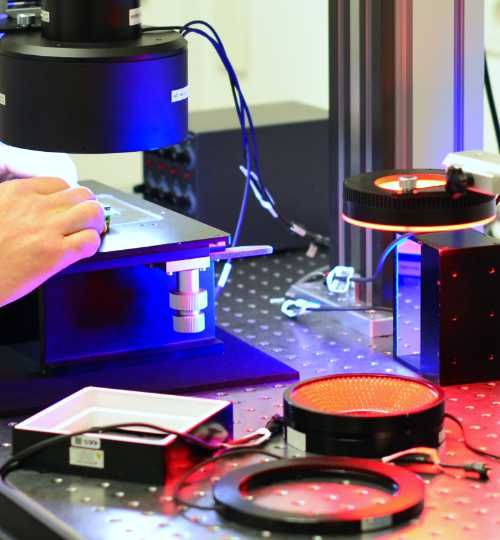


The surface and material colour of the target has a significant effect on the resulting camera image. In addition to the surface effects already mentioned, colours absorb large amounts of incident (mostly visible) light, so the reflection component is also reduced.
It also matters whether there is only a thin, easily penetrated layer of paint on the object or whether it is a fully coloured test object.

Colour image: Daylight shot for comparison

Normal grey tones. Light colours appear light, dark colours are normally dark.

Light green, green and red are very darkened.

Mobile phone and 50DM logo very bright, eplus and cash logo very dark

All red image elements, such as the telephone or the colour around the 50DM logo, are darkened. Green tones are slightly lightened.

Many colours have completely disappeared. Only slight grey tones due to the black content of the printing ink.
The contrast of individual colours can be increased (or decreased) by cleverly adapting the coloured light to the colour of the test objects. This allows colours with similar luminance values to be better separated in the grey image. A red and a neighbouring green will therefore produce different shades of grey. This is based on the principles of additive light mixing and subtractive colour mixing. This avoids the need to use a colour camera, which has many disadvantages.
A special feature of the inspection of coloured objects is the use of infrared lighting. As the colours we are familiar with only absorb in the visible range of the light spectrum, but are now illuminated with a light colour beyond the visible range, no absorption can take place. Coloured objects in red, green, blue, etc. do not absorb light, but reflect it and behave like a white surface. More information on this can be found in the IR Illumination section.
Vision-Doctor.com is a private, independent, non-commercial homepage project and not a technology provider or system integrator. Suitable technologies and further professional support can be obtained from the companies & partners listed below.
If necessary, I will be happy to provide a quick recommendation, contacts and brief information.
