


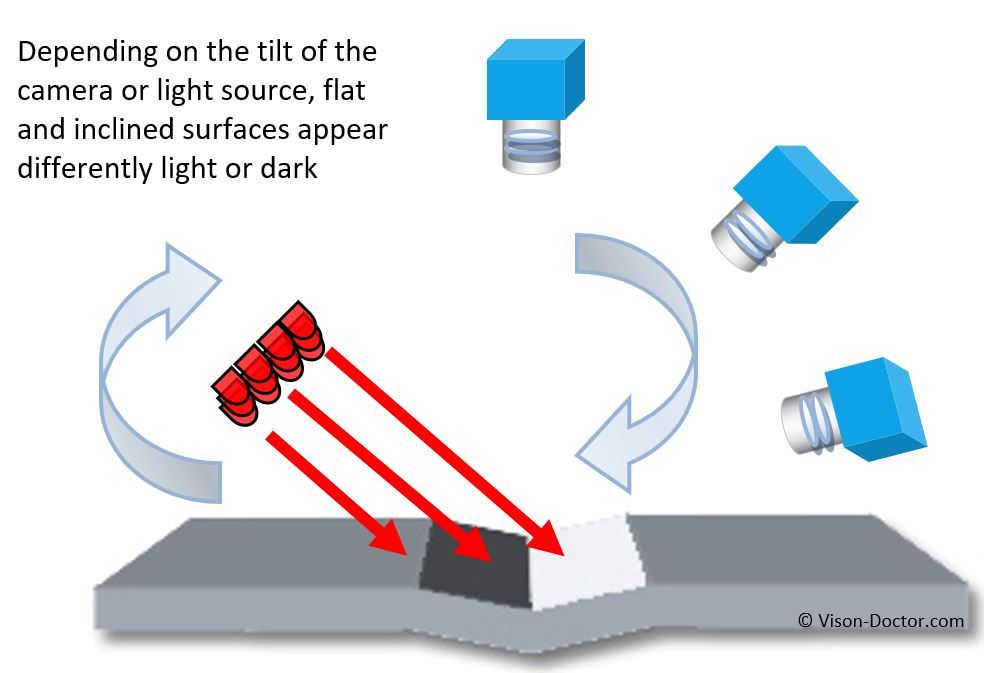
Light from the side can be relatively steep or arbitrarily low. The effect on the camera image can be very significant; in extreme cases, the image information can be virtually inverted.
This is very easy to test: simply take a light that does not shine over too large an area and move it from a vertical position to a lateral position and observe the camera image of the illuminated object! Similar effects can be achieved by tilting the camera axis towards the surface of the component while keeping the direction of illumination constant.


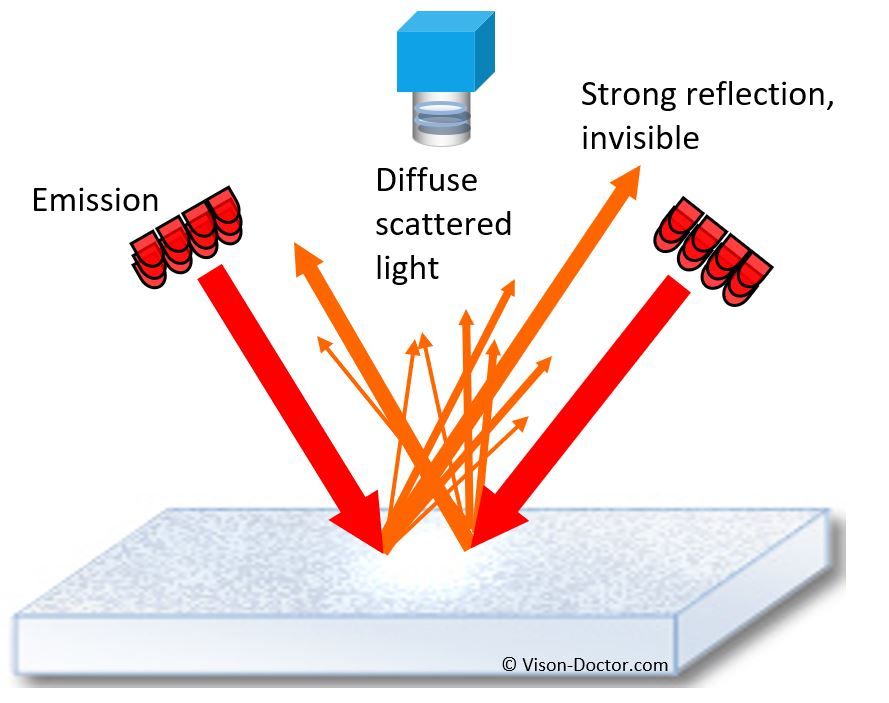
To avoid shadows on the side of the object, it is a good idea to illuminate from at least two sides. This also avoids a drop in brightness from one side of the image to the other, which can cause problems when analysing the image.
Instead of ring-shaped illumination, rectangular light fields or bar-shaped light sources are now commonly used.
Laterally diffuse light can be a viable alternative on flat surfaces where diffuse illumination is required. However, they are less easy to handle than coaxial lighting with a beam splitter.
The illustration shown here already shows the smooth transition from bright field to dark field illumination. The surface is still brightened by scattered light effects on the slightly structured surface to such an extent that the component is easily recognisable. However, bevelled edges and notches are already brighter than the other image areas, as is typical for dark-field illumination.
Surface slightly lightened by scattered light, deep edges of the notch lettering and slanted contours lightened.

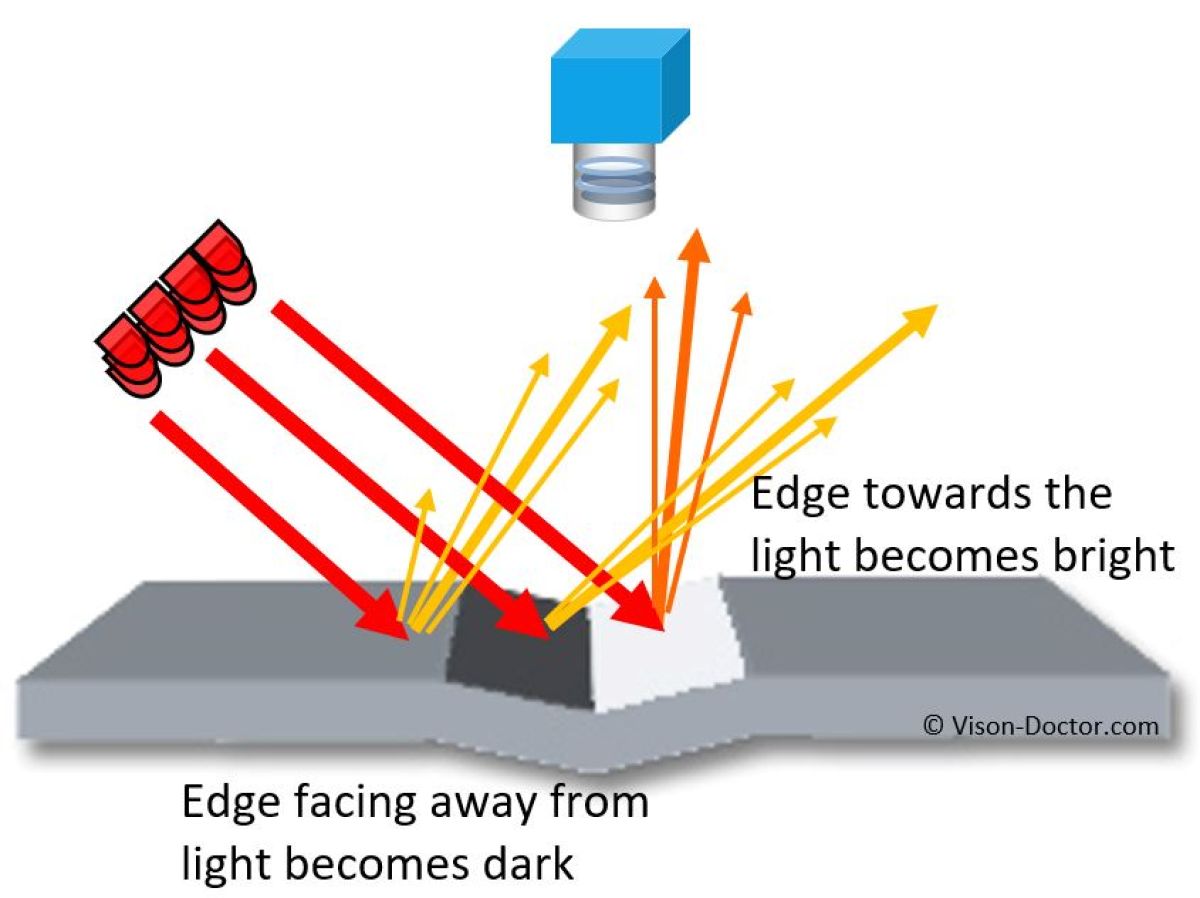
Edges facing away from the light appear dark, edges facing the light appear light.
Laser marking also involves a very strong roughening of the material. The resulting microscopic, uneven surface appears smooth and metallically bright at first glance, but generates a lot of scattered light and reflections when illuminated from the side:

All metallic conductors and the laser-marked Datamatrix code are highly reflective.

Smooth metal conductors reflect light away from the camera, while the rough surface of the Datamatrix code scatters light towards the camera.
An illumination angle of 45 degrees or more is called dark field illumination. Light is reflected off the surface and the field of view appears dark. This effect is most apparent when the light is incident at an extremely shallow angle, as no stray light is reflected towards the camera. See the "Dark field illumination" section for more details.
Vision-Doctor.com is a private, independent, non-commercial homepage project and not a technology provider or system integrator. Suitable technologies and further professional support can be obtained from the companies & partners listed below.
If necessary, I will be happy to provide a quick recommendation, contacts and brief information.
